In Progress: Han Solo Shirt Burda Style 05-2010-145
I sit here at the computer feeling rather smug and pleased with myself. Over the last few afternoons I tissue fitted and cut out the pattern pieces for Peter's Han Solo shirt. Then, on Friday morning I had a stroke of brilliance. I checked the Vancouver Public Library catalog for David Page Coffin's Shirtmaking. To my luck, both copies were available at the central branch. I had just enough time - and a willing six-year-old - to jump in the van, drive downtown to the library, park on the street (45 cents in the meter), dash in the library, find and check out the book, dash back to the van, and drive back past my own neighbourhood and over to Clara's preschool just in time to pick her up.
Wow! I am loving this book. It is totally worth all of the accolades it receives. I just wish I had read through it to find the seam allowances he recommends before cutting out all of my pieces. I did use the book to draft plackets for the sleeves and the neckline. I was so scared that I would do something bone-headed, but so far I haven't. Everything has been pretty easy, though very precise. The only thing I would change about the book are the instructions for attaching the back yoke to the shirt fronts. He describes the "burrito" method, but there are no illustrations. Seriously.
Anyway, here are some of my highlights so far:

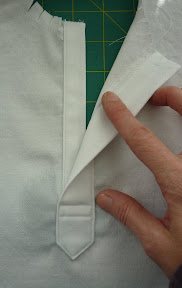

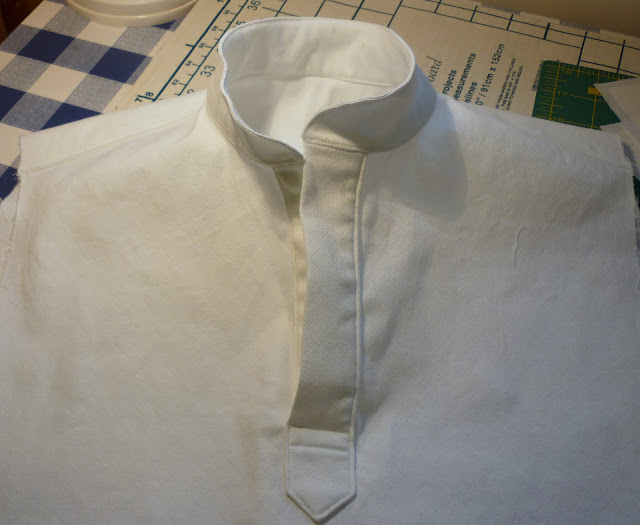
Front, Inside, and Reverse side of the neck placket (my first ever!!)
(Those lumpy areas are not really puckery - they are just wet. I was removing some washable marker.)
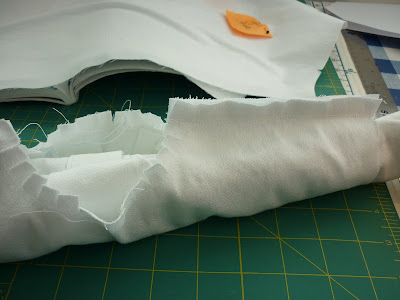
Attaching the yoke with the "burrito" method.
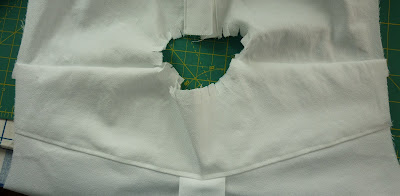
Yoke turned right side out (before pressing).
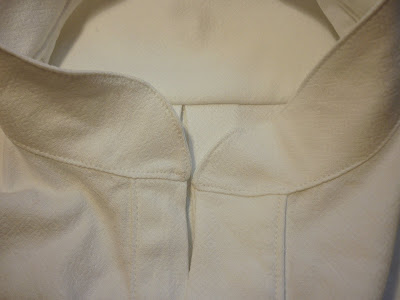
Close up of the finished collar.
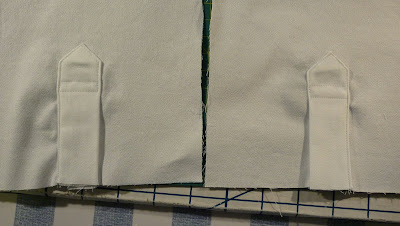
Sleeve plackets. Nearly identical.
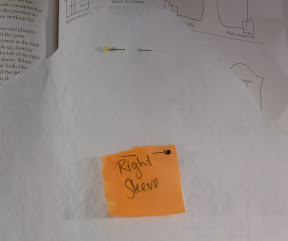
And, how I managed to keep my sleeves straight. The fabric Peter chose has a lovely texture woven in it, but both sides are nearly identical. I went through all of the pieces and marked each right side with a yellow pin. Then, once I figure out which sleeve was which and which placket went with which sleeve (thanks, David Coffin!), I pinned the pieces together and pinned a label on them as well. Phew!
I had a lot of fun today working on this and contemplating all of the different precise steps. The shirt just needs the sleeves attached (these will be faux flat felled seams since I don't have enough seam allowance to do it properly), the side seams sewn, the cuffs attached, and the hem finished. Definitely doable.


Comments